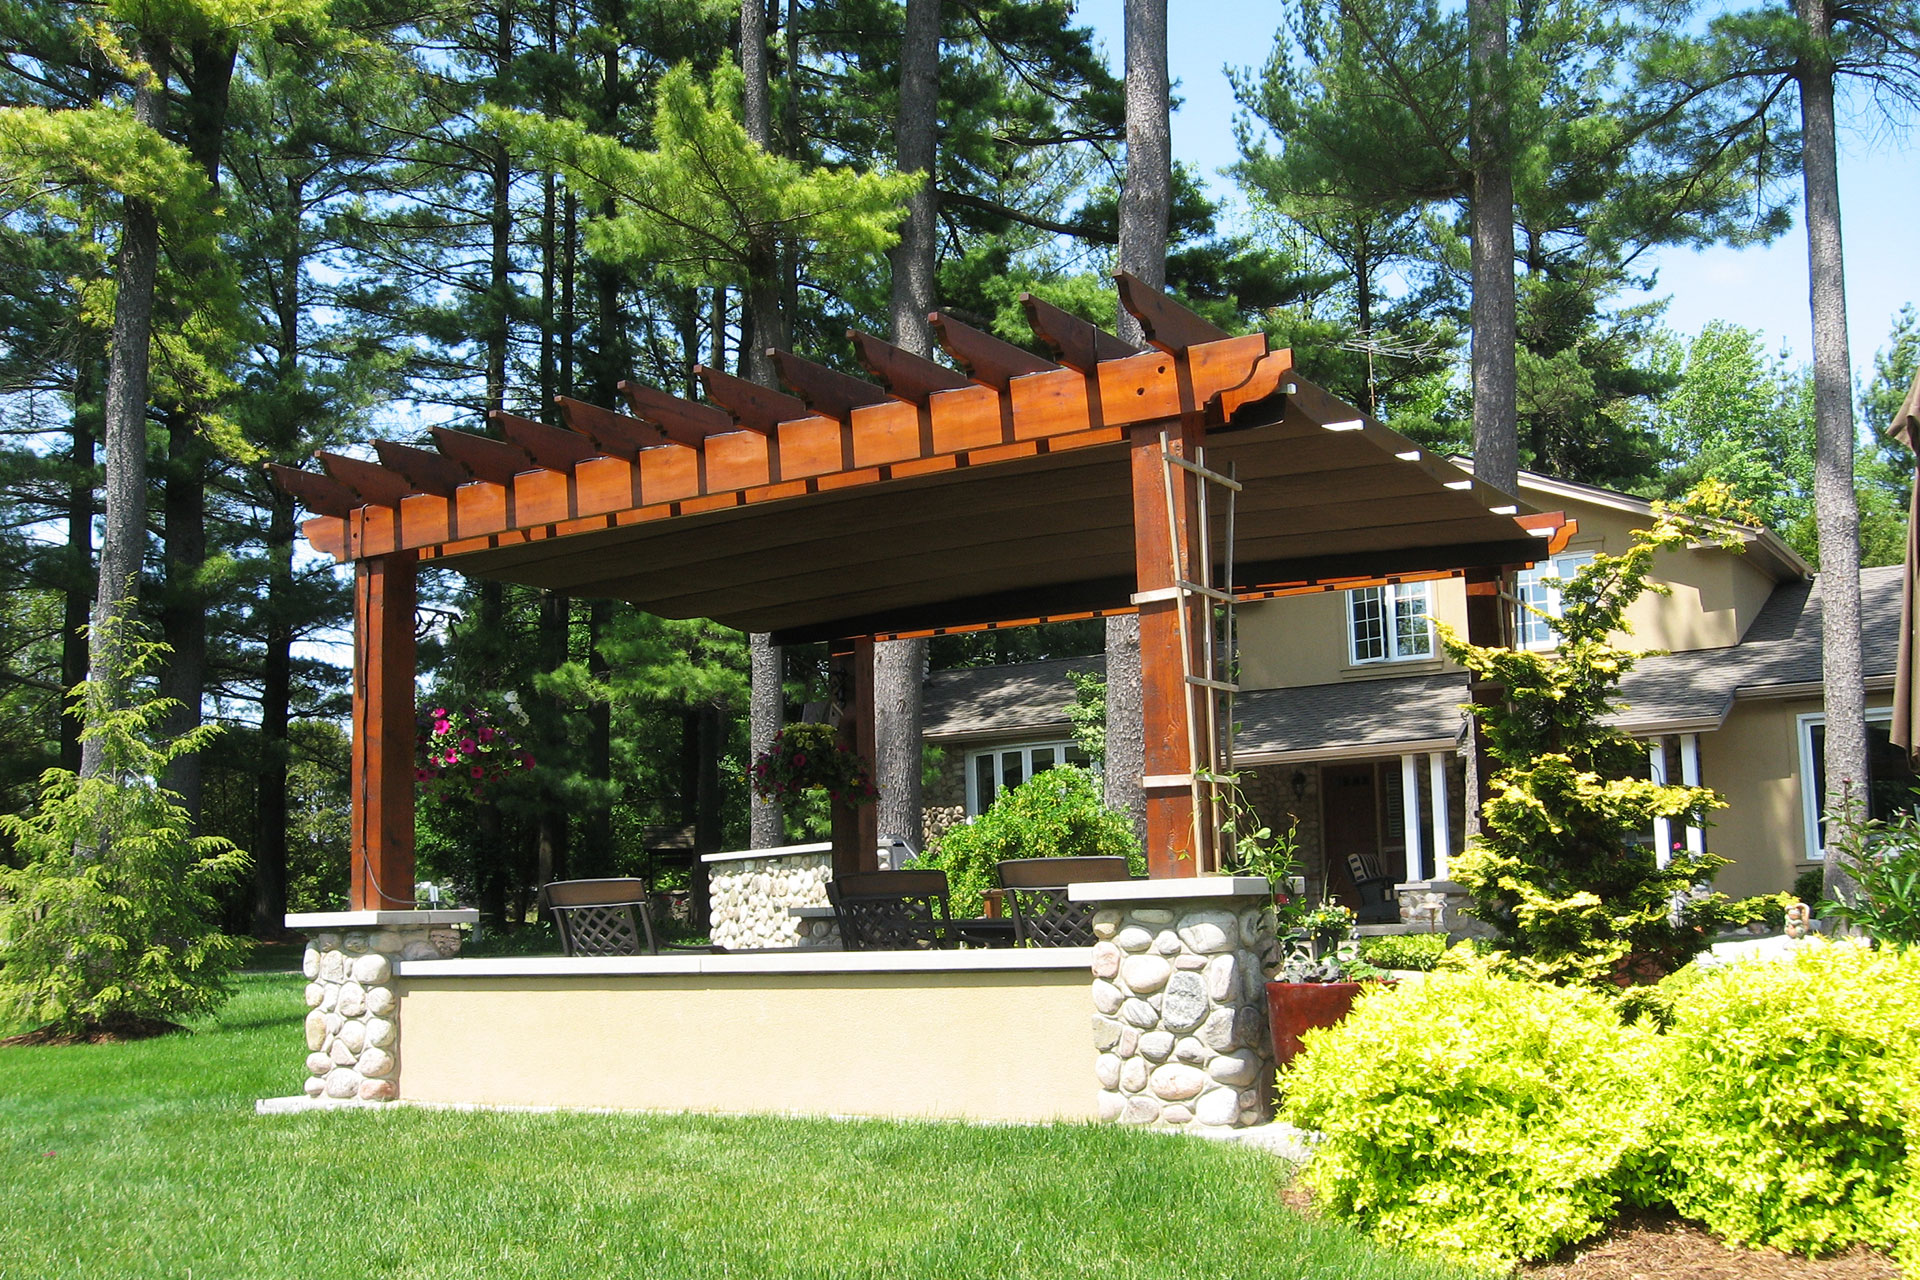

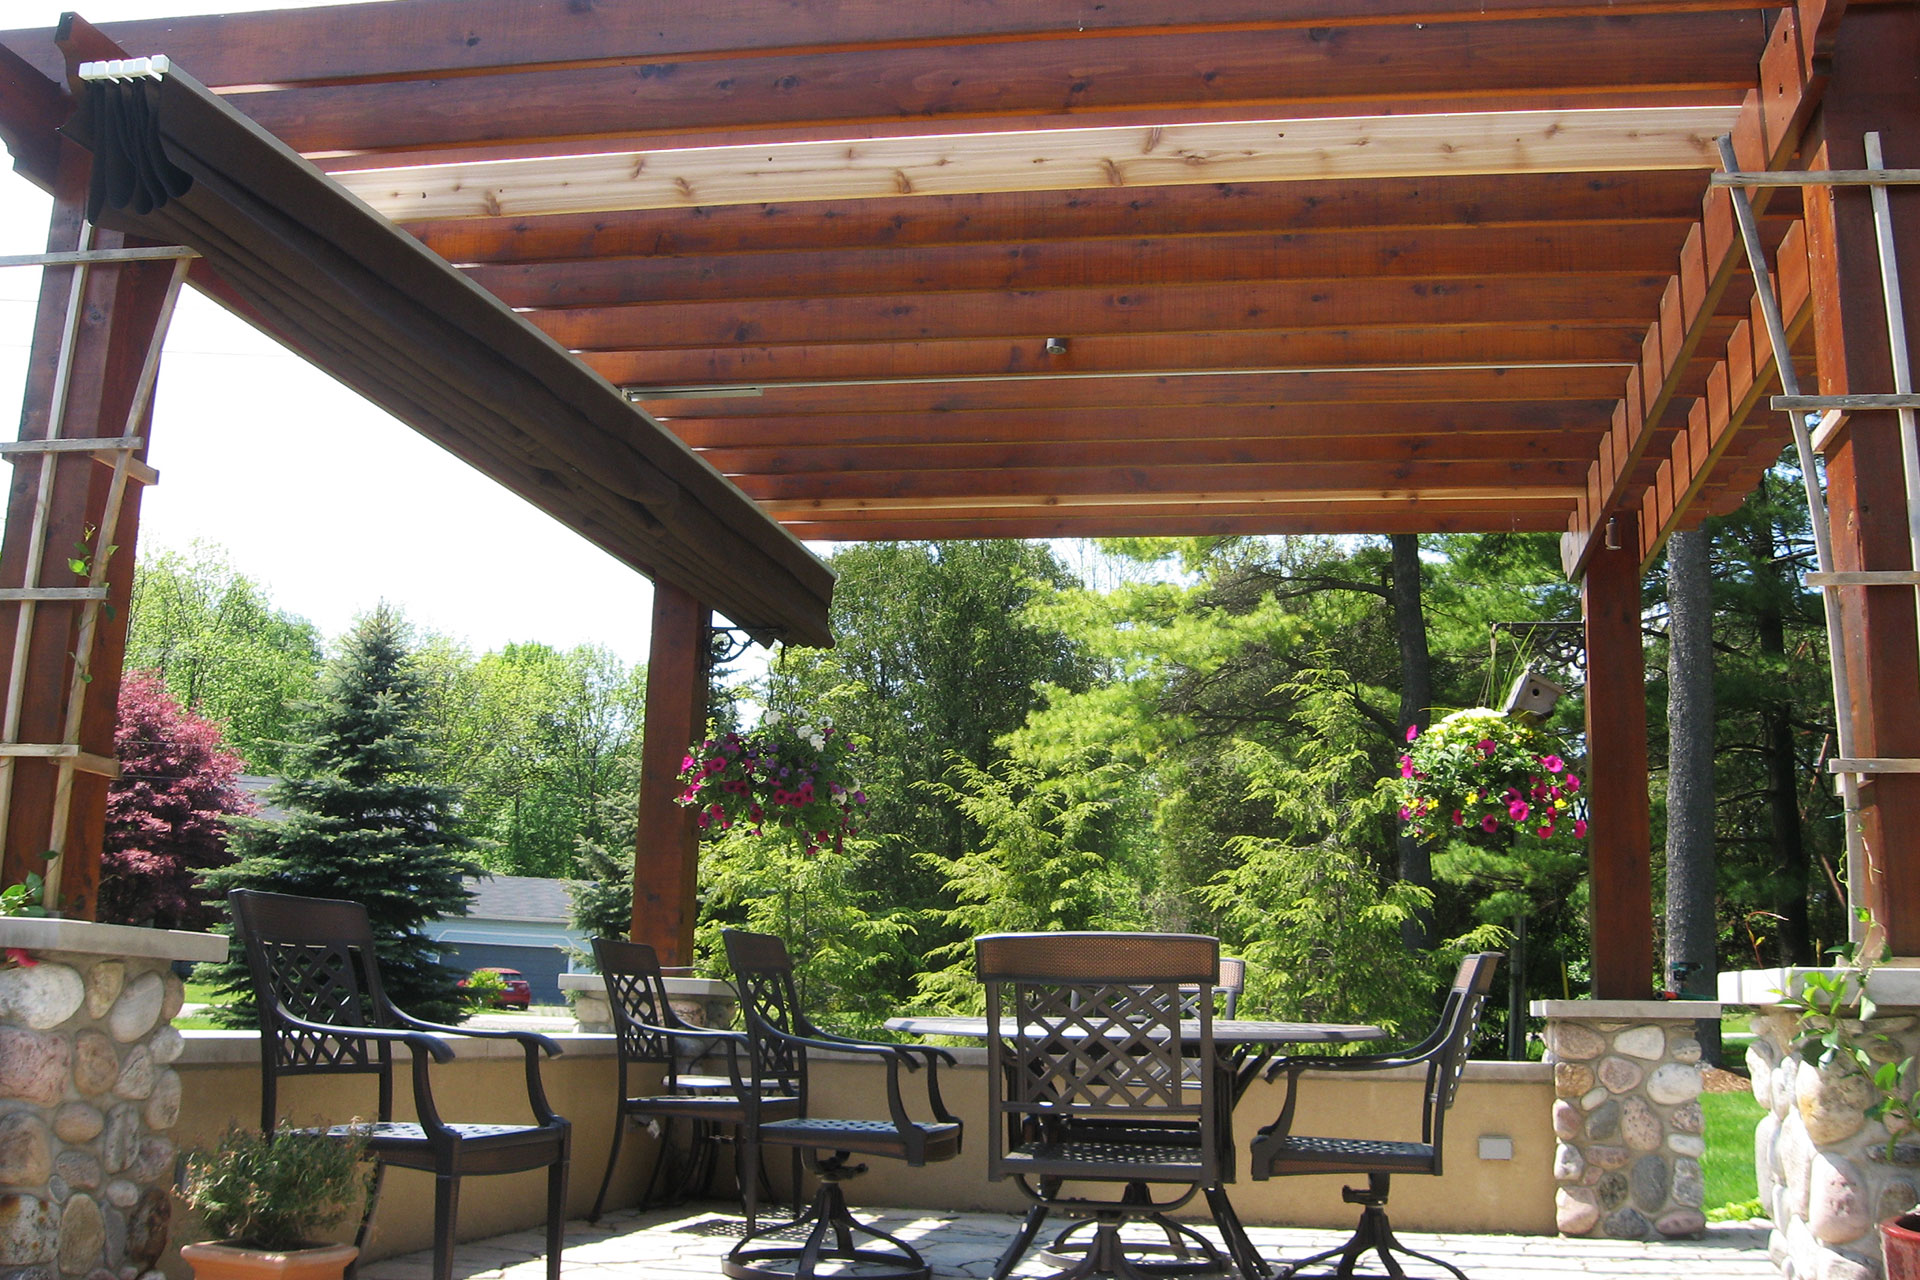
Talk about style. This project was done by AWE in Southern Ontario. The pergola was existing and the canopy was fitted parallel to the rafters. This is a very straightforward installation if there is a central rafter. If not there are ways to mount the canopy track between the rafters. Visit our installation video to see a canopy mounting to a pergola without a central rafter.
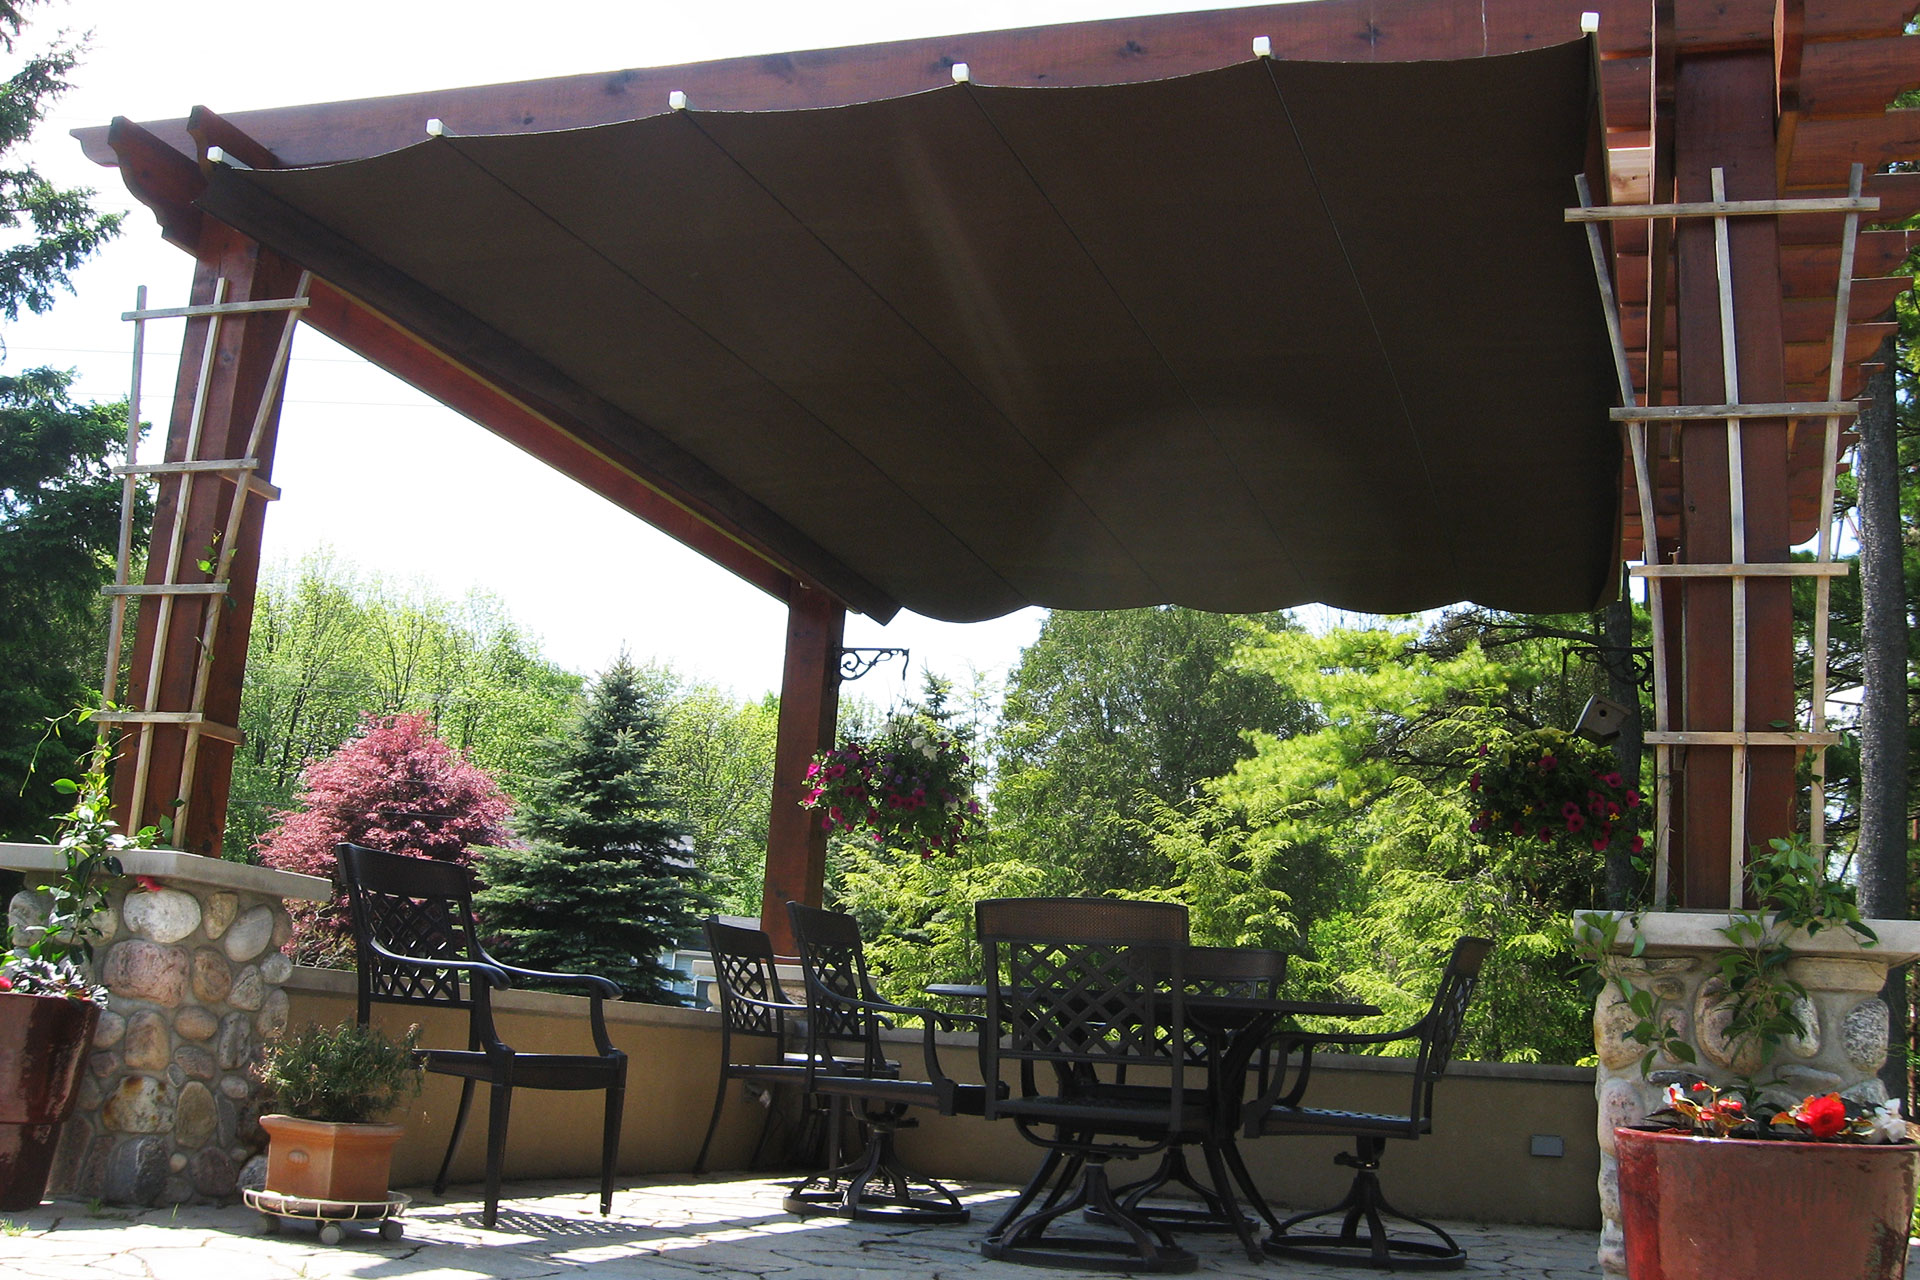
Look closely and you’ll see the stabilizers that were added. They are not stained yet and are easy to spot as a result. It is most common to put the stabilizers at the ends of the wings where the wing cap slides easily along them. However it can be practical to install the stabilizers inboard of the wing tips for a number of reasons. In this installation, the canopy extends beyond the rafter structure by about 12”. By doing this, you increase the coverage of the canopy beyond the pergola dimensions getting more sun and rain protection.
Another reason to have the stabilizers inboard of the wing tips is to manage a canopy that has an irregular shape. This is an unusual circumstance that was recently applied in a project with semicircular canopies. Let us know if you need an irregularly shaped canopy. ShadeFX is the only retractable canopy that can accommodate irregular shapes.
This is a rope operated system. We are often asked to describe the difference between the rope system and the manual system since neither have a motor. The best way is to consider what the canopy will be covering. If there is a hot tub or furniture that would be difficult to walk around, we recommend a rope operated system. You simply go to one of the posts the rope mounts to and pull the canopy out or back.
If the canopy will be covering an area that can be walked through, or around furniture that is not occupying a large part of the area under the canopy, you can use the manual system. It uses a handle that engages with the canopy so it can be pulled out or pushed back. This is well demonstrated in our installation video starting at the 35-second mark.